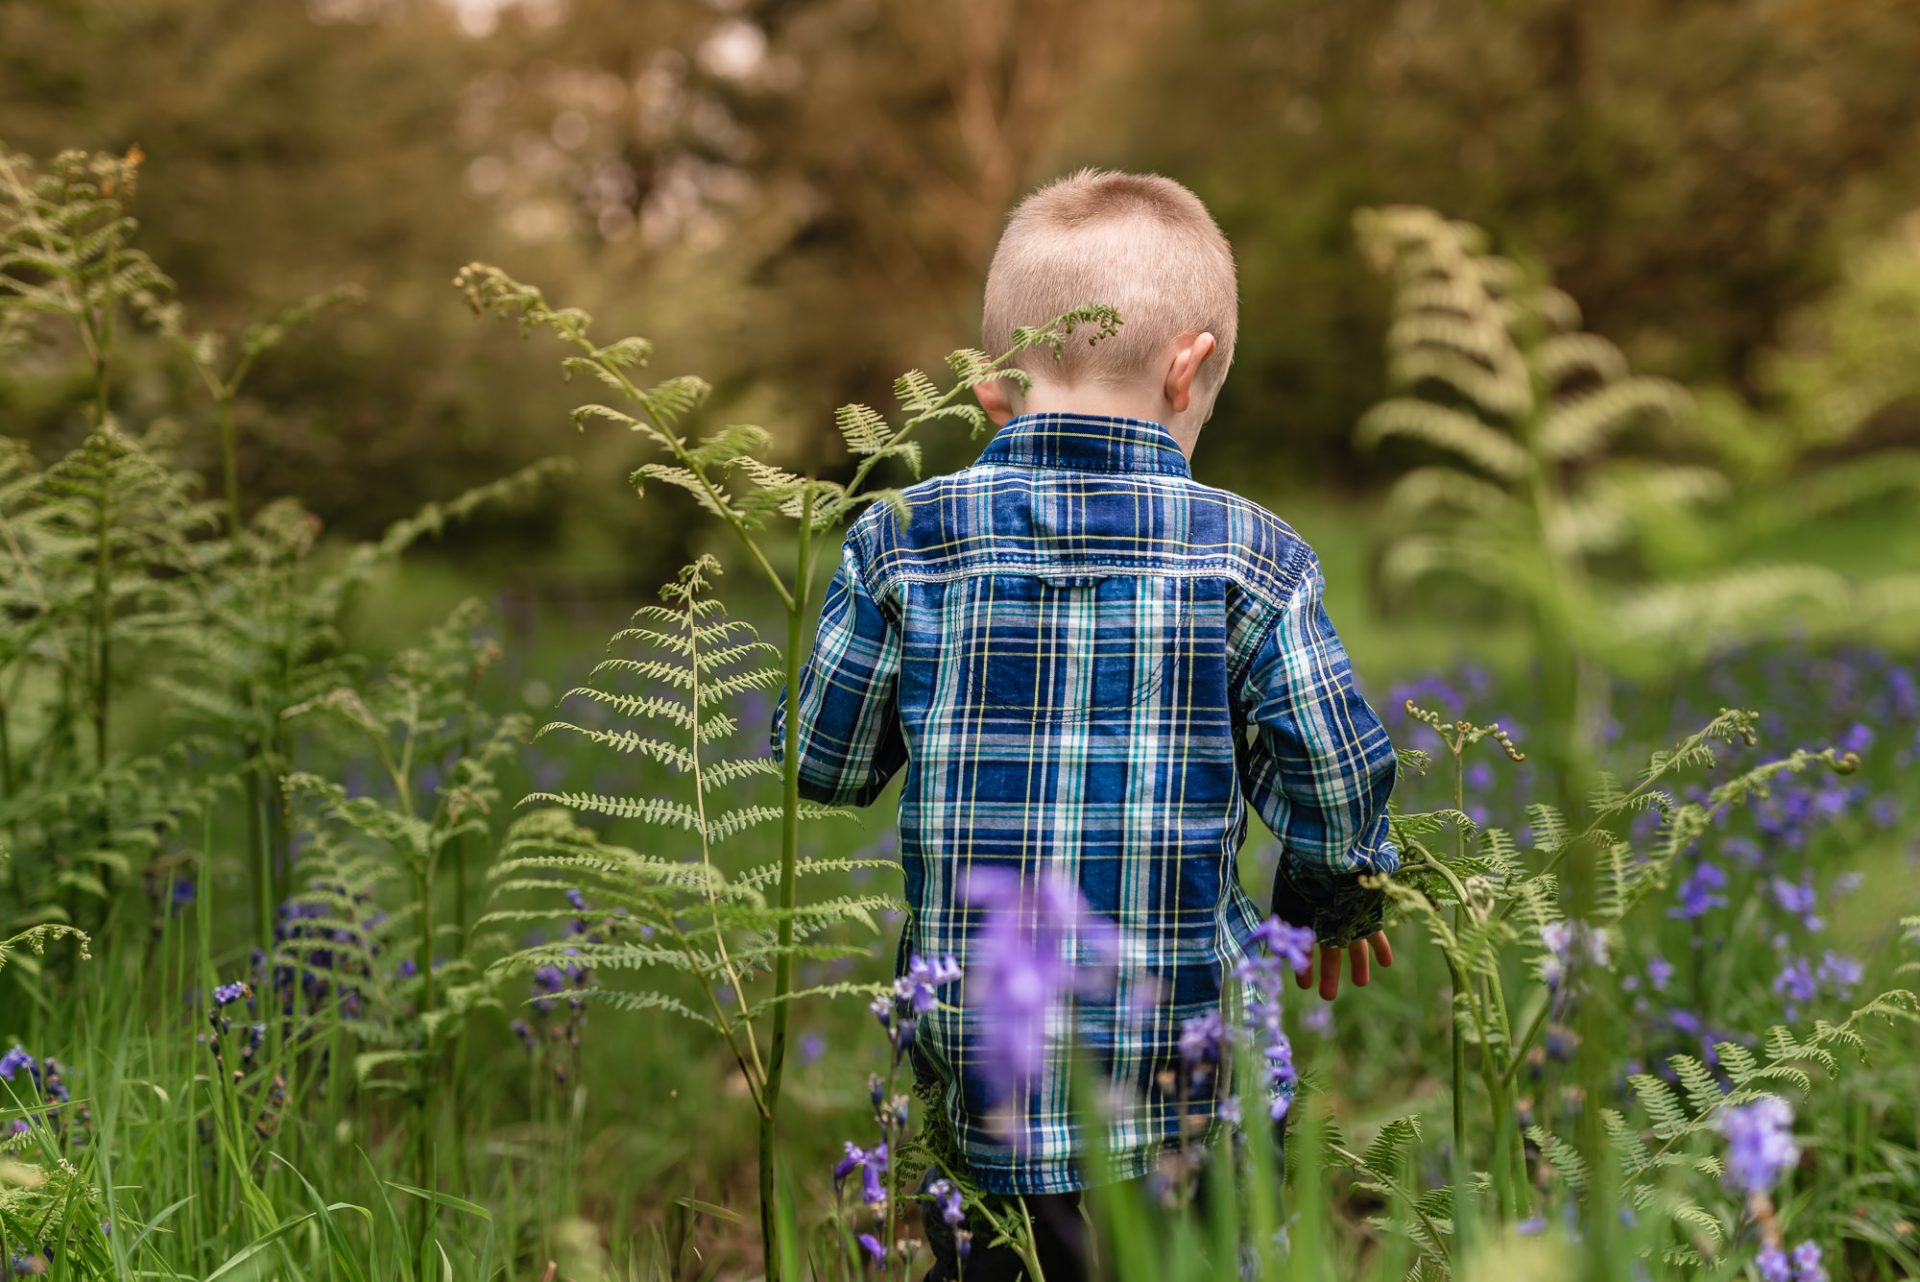
At the beginning of my photography journey – when even the basics were new – most of my photos were taken outside.
Why?
I assumed outside would be easier. There’s always light to work with!
But what I didn’t understand was how to work with that light. It’s taken years of practice.
In this post, I’m going to share some of the basics on outdoor light and give you some tips to inspire you to get creative.
1. Find open shade
Let’s picture a beautiful sunny day with clear blue sky. Sounds perfect, doesn’t it?
Nope! Not for photos.
Direct sun can be really tricky to work with, especially during the middle of the day when it’s directly overhead. You’ll notice really strong shadows on your subject, especially around their eyes, and they’ll have hot spots (bright areas) on the top of their head. It’s not pretty.
So, what’s the ideal setup for your outdoor photos?
Find open shade.
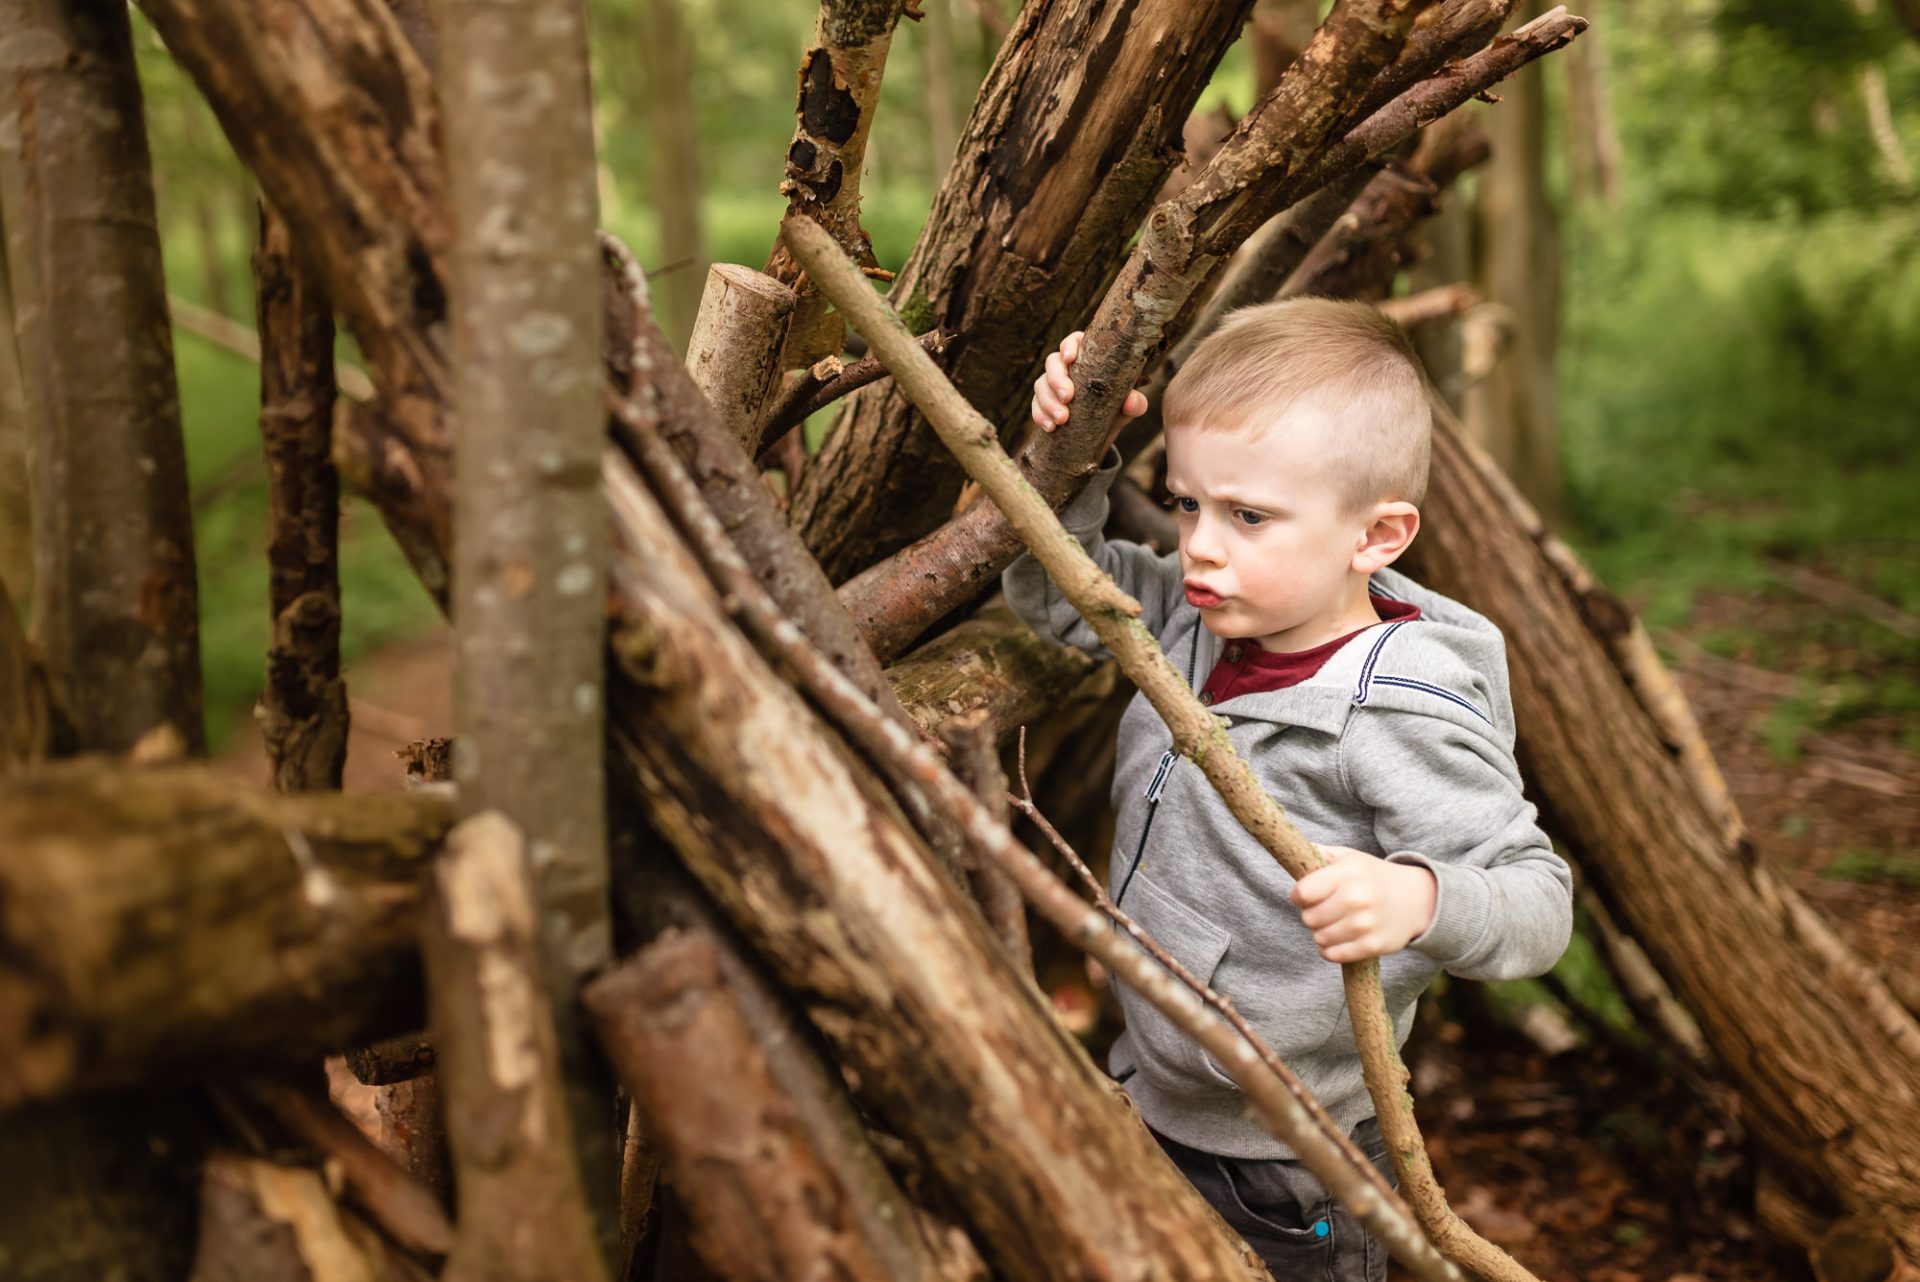
Open shade is anywhere that is shaded from direct sunlight but still has light around it. I usually find a big tree does the job. Just look out for dappled light (small patches of light) coming through the gaps in the tree – you don’t want your child to have spots of light on their face.
Position your subject so that they’re looking out from the shade towards the open sky. This light is much softer and flattering for your subject.
If there are no trees around, look for open shade from a wall, building, or play equipment in the park.
2. Backlight your subject
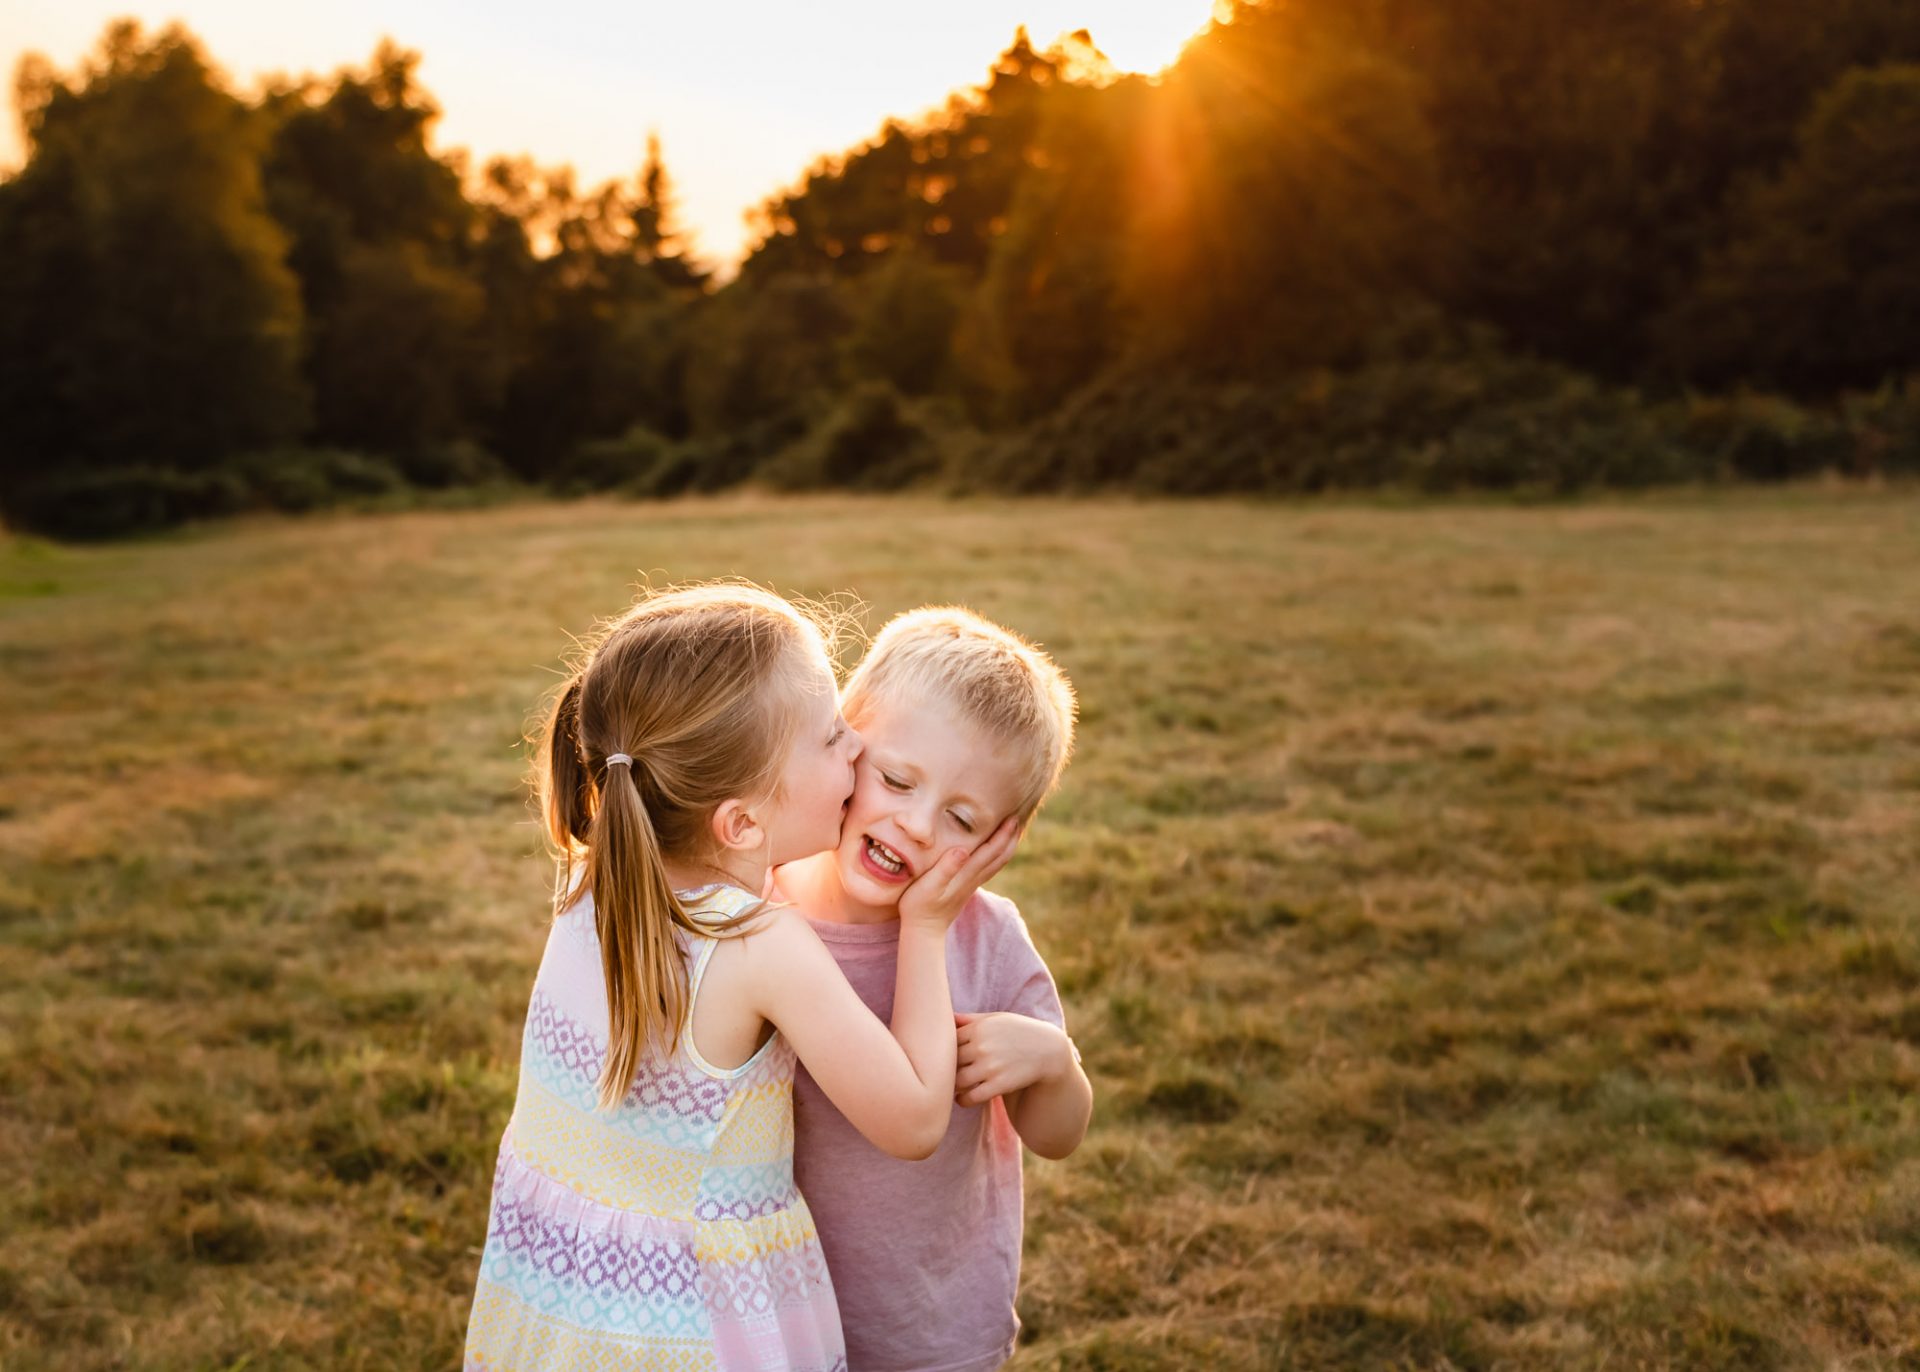
Another option is to use backlight (when the sun is behind your subject) which creates a beautiful glow around those in your picture. This will also help if your subject is squinting facing the light on a bright day.
Early morning or evening will give you the best results as the sun is low and the light is soft. Position your subject so that their back is to the sun and you are shooting towards it.
When using backlight I like to have trees in the background to filter the sun.
Us photographers go crazy for golden hour shoots (just before sunset) when the light is soft and warm. I always recommend golden hour shoots to my clients during the summer months – it really is beautiful.
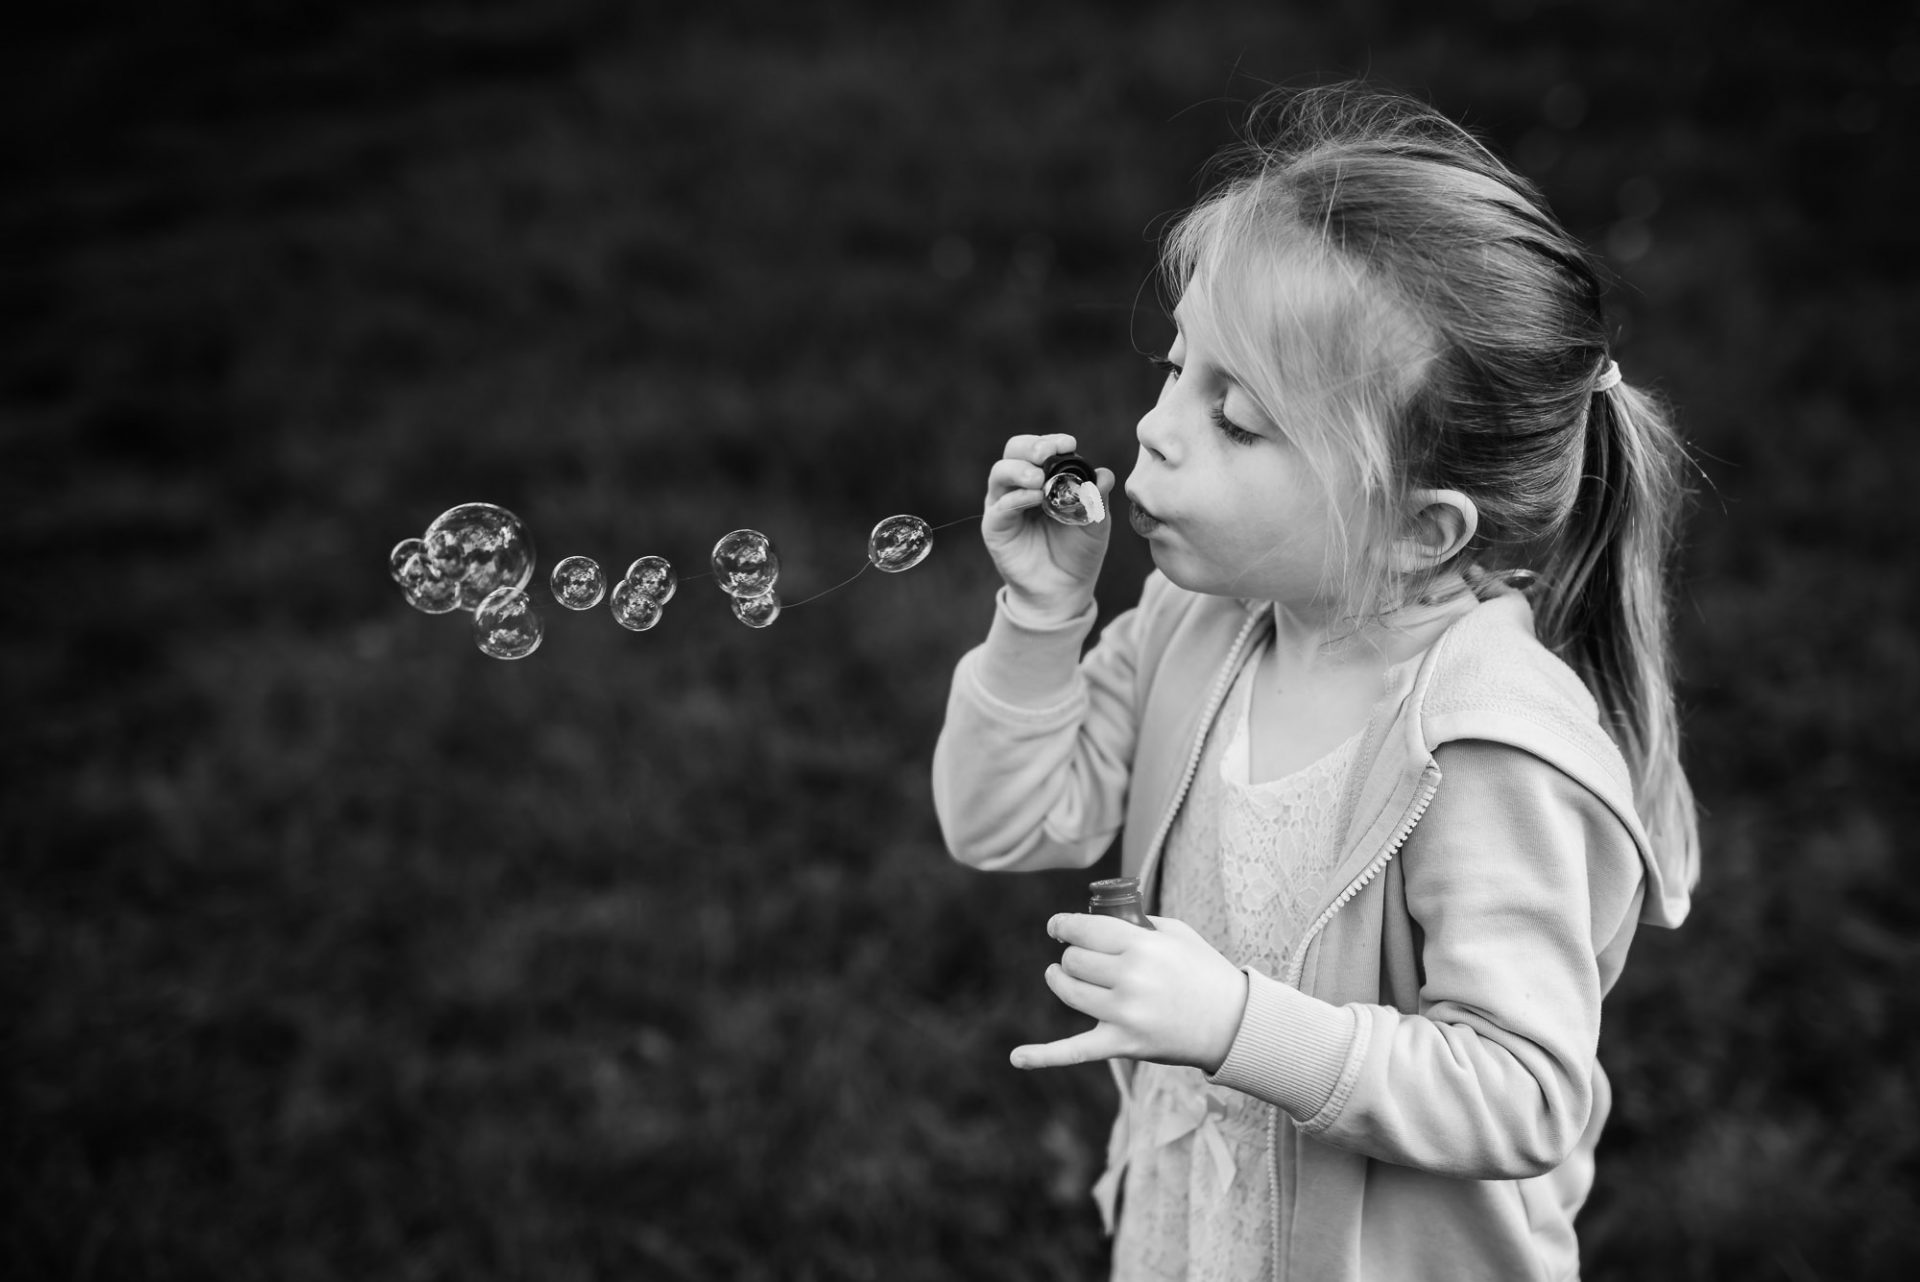
Backlight is also a must for water play and bubbles, you’ll get such amazing photos as the light hits the water. You can have so much fun playing around with this in your garden. Make sure you’re shooting towards the light, with your subject either facing you or to the side.
3. Play with composition & style
There are so many photography rules, but unless you’re wanting to submit to a competition, don’t listen to any of it. It’s important that you have fun and find your own style.
What I would say is try to have a mixture of portraits and documentary photos that will capture more of the story. I want you to look back on these photos in 20 years and be reminded of their first swim in the sea and first time on the big swings without you, not just their adorable faces.
What’s brilliant about being outdoors of course is you should have a lot more room and scenery to play with, so include those in your frame.
Including elements from the foreground and background will add more depth to your photos. There are lots of beautiful flowers in bloom at the moment that you can use, and they’ll also add a lovely pop of colour.
For a more formal portrait, you’ll want to be eye level with your subject and nice and close.
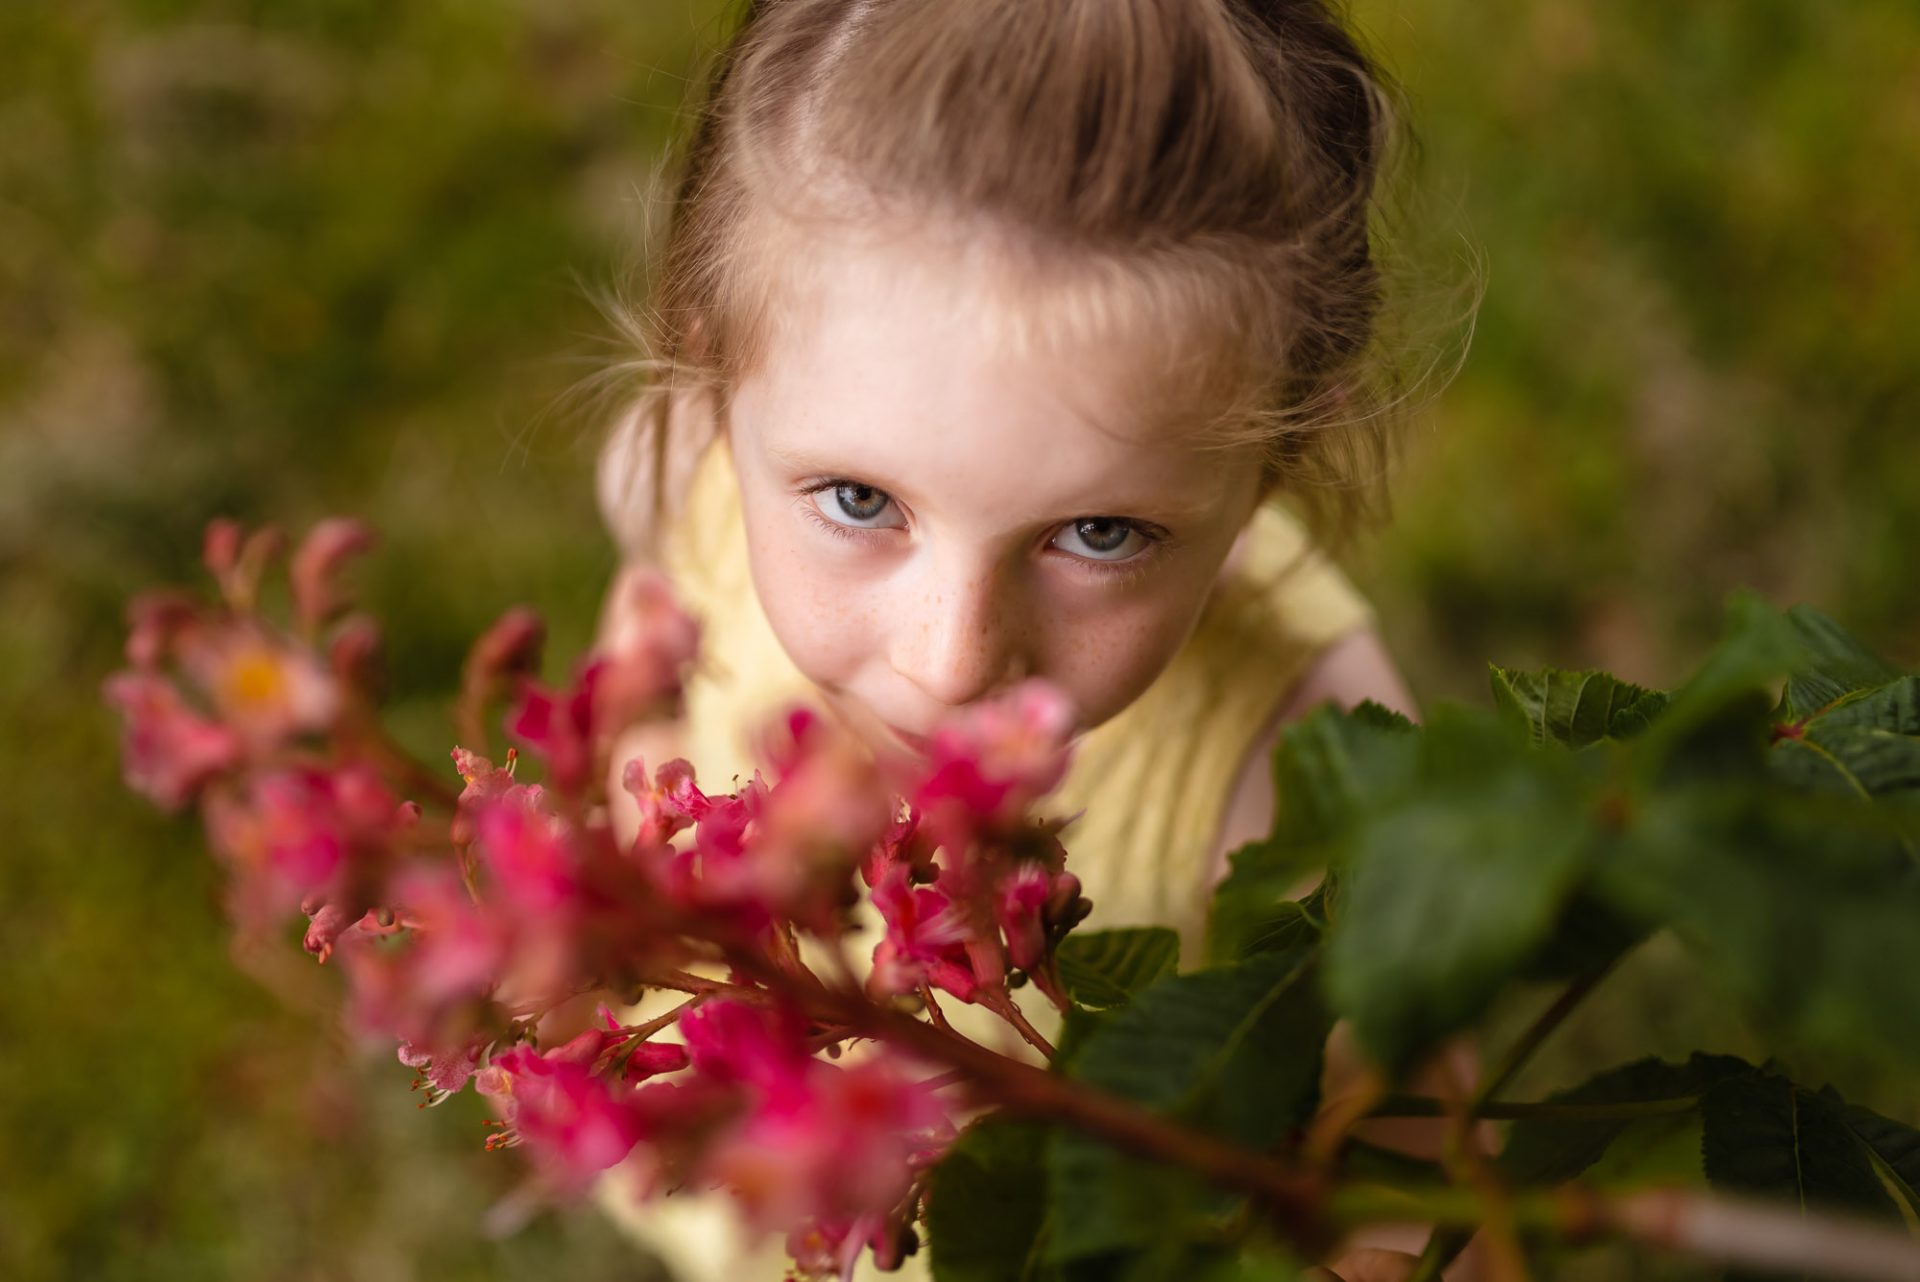
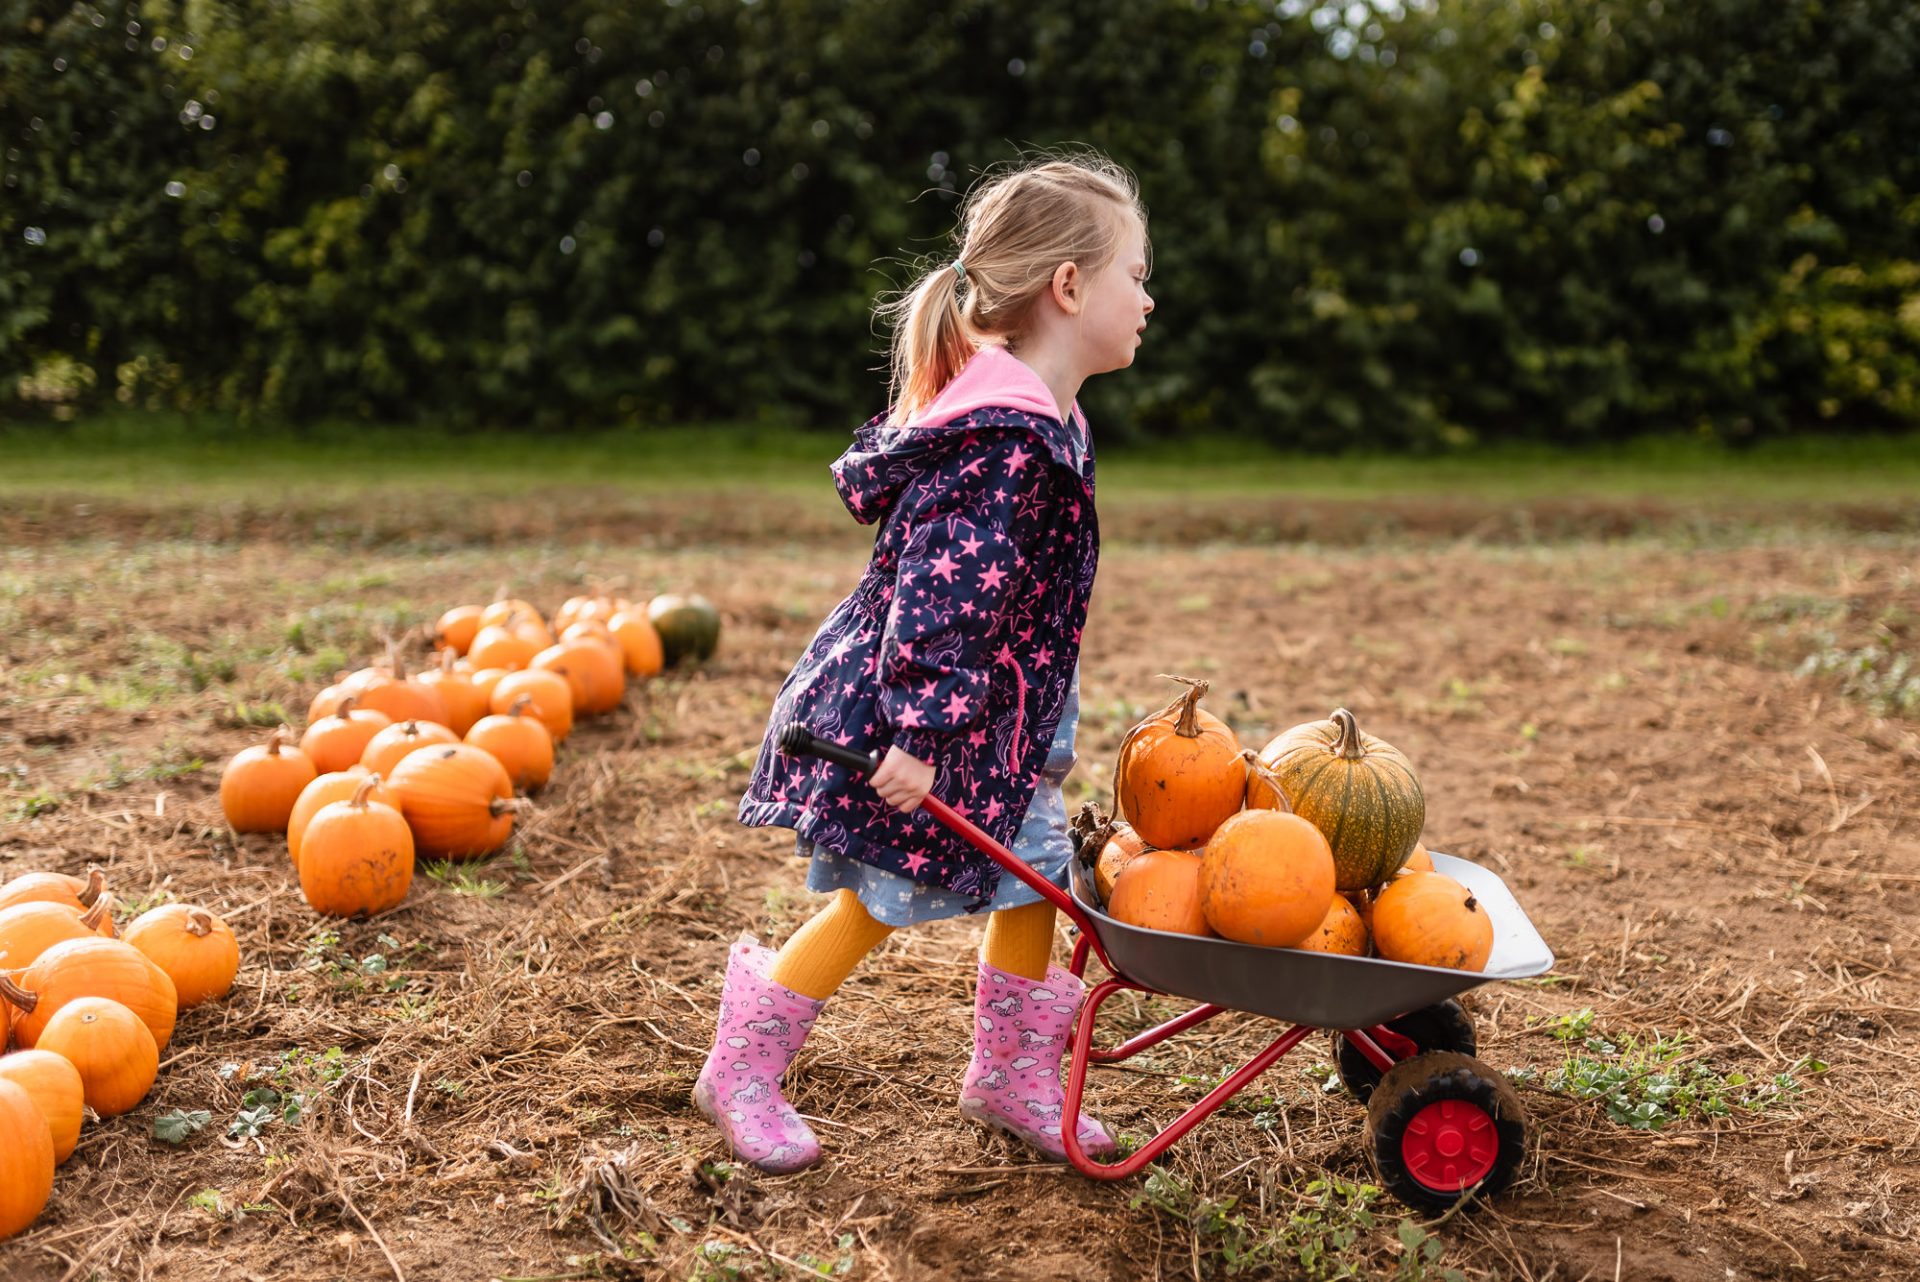
To capture a more documentary-style photo, take a step back, zoom out and include as many of the elements as you can which tell the story.
Documentary photos are completely organic and true, so just go with the moment and capture it as best you can. Alter your position to get the best light but stand back and don’t interrupt the moment.
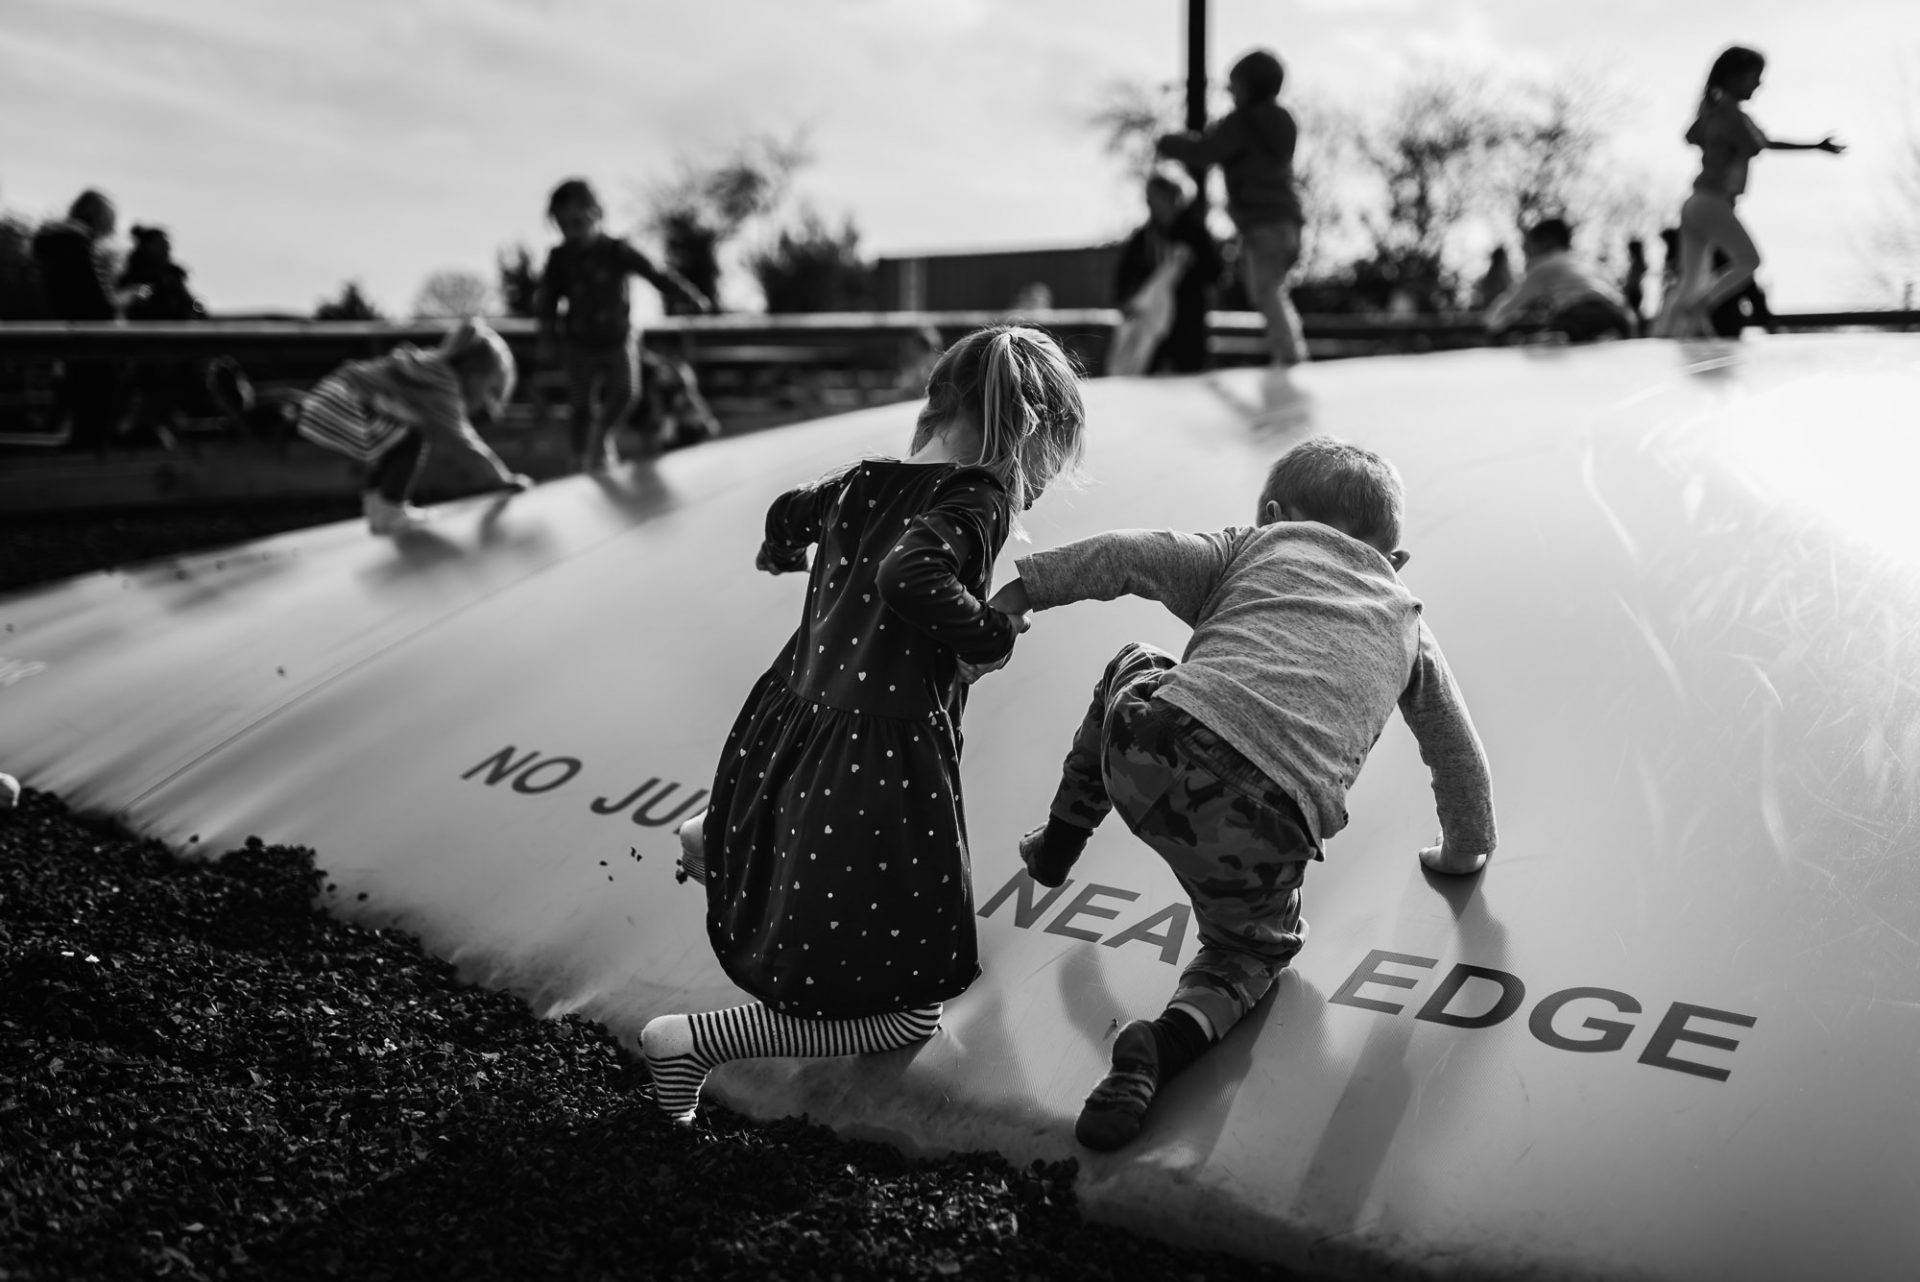
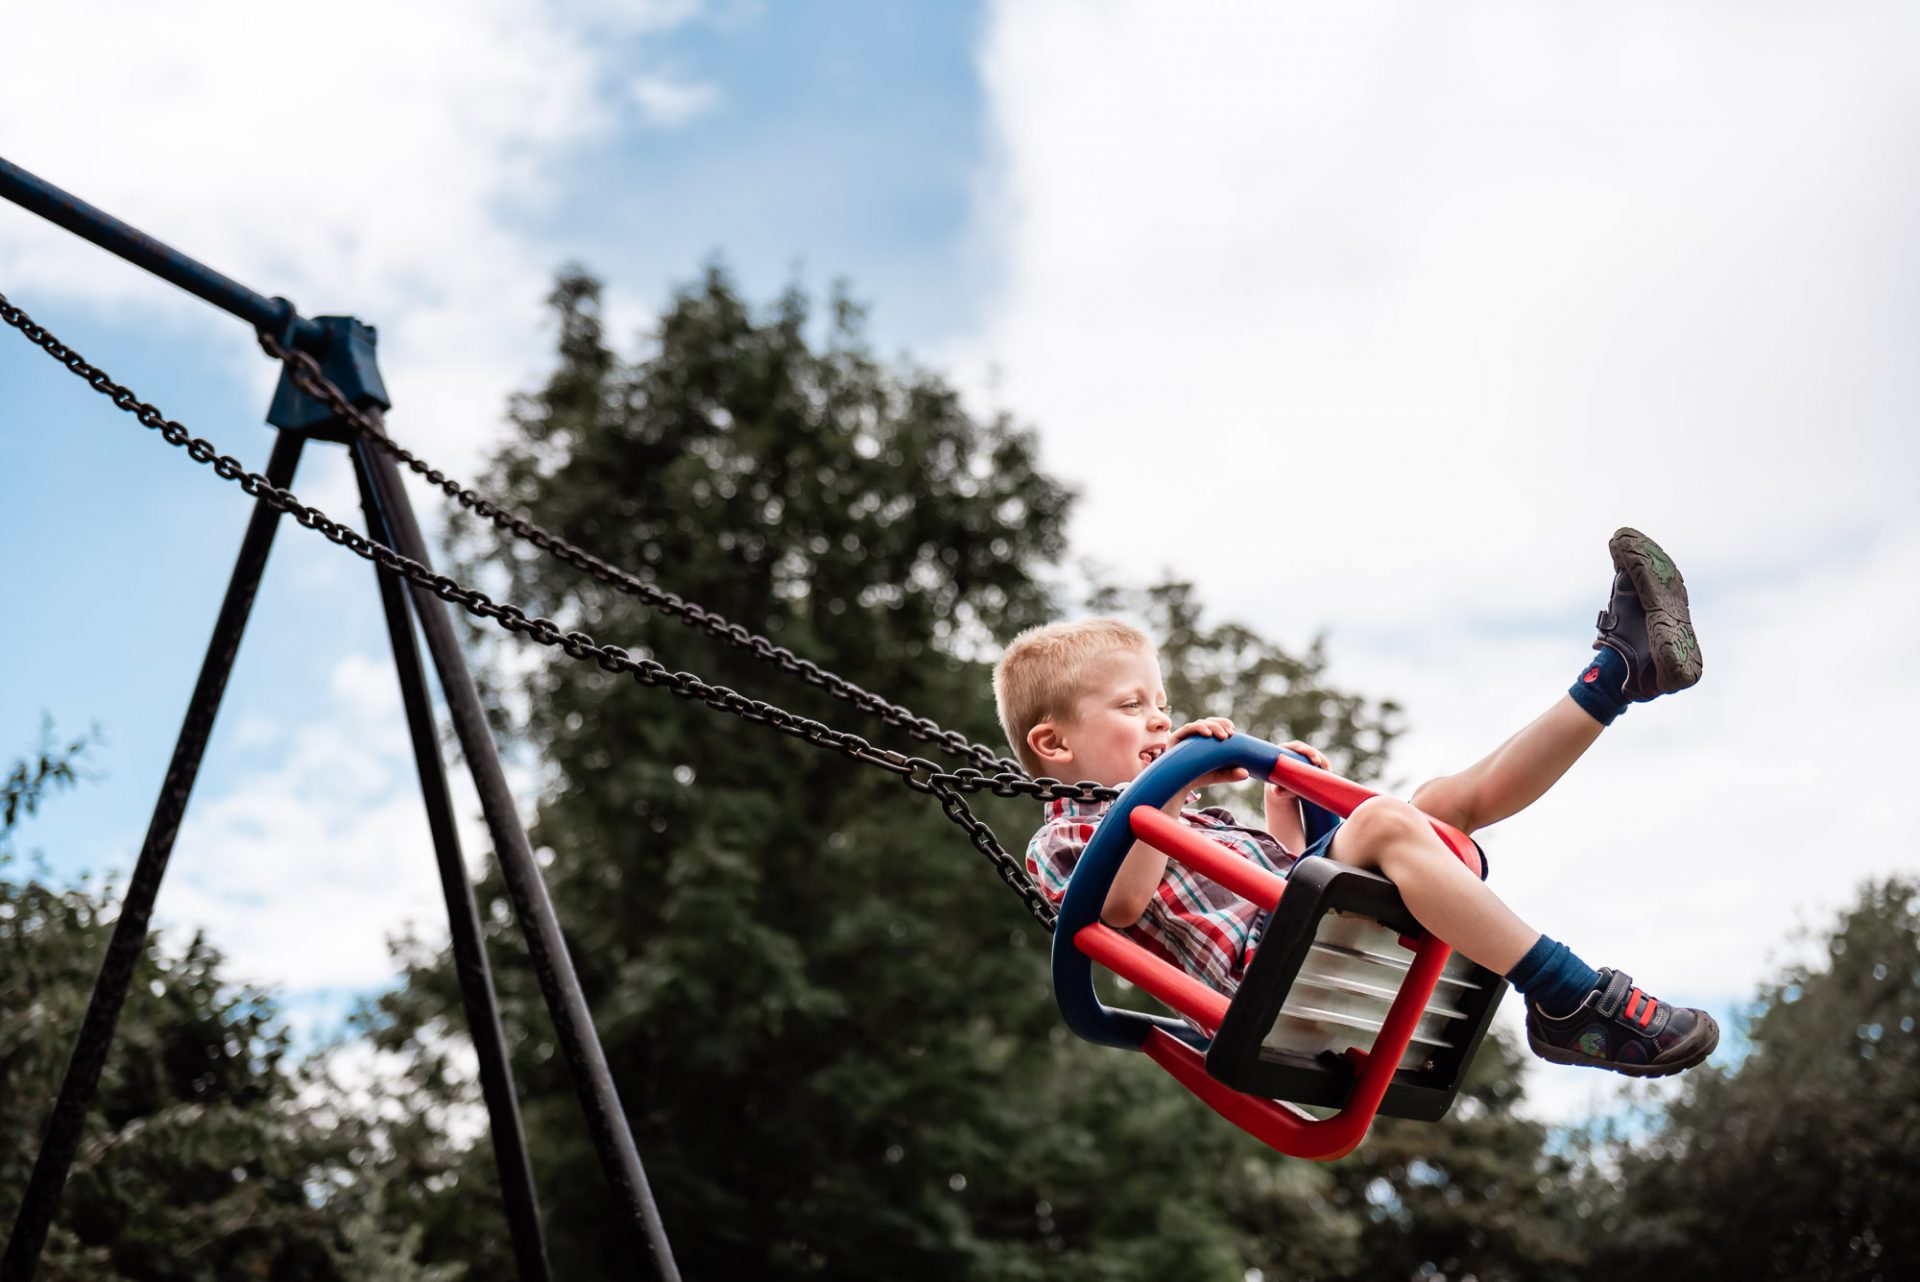
Don’t be afraid to try a change of perspective.
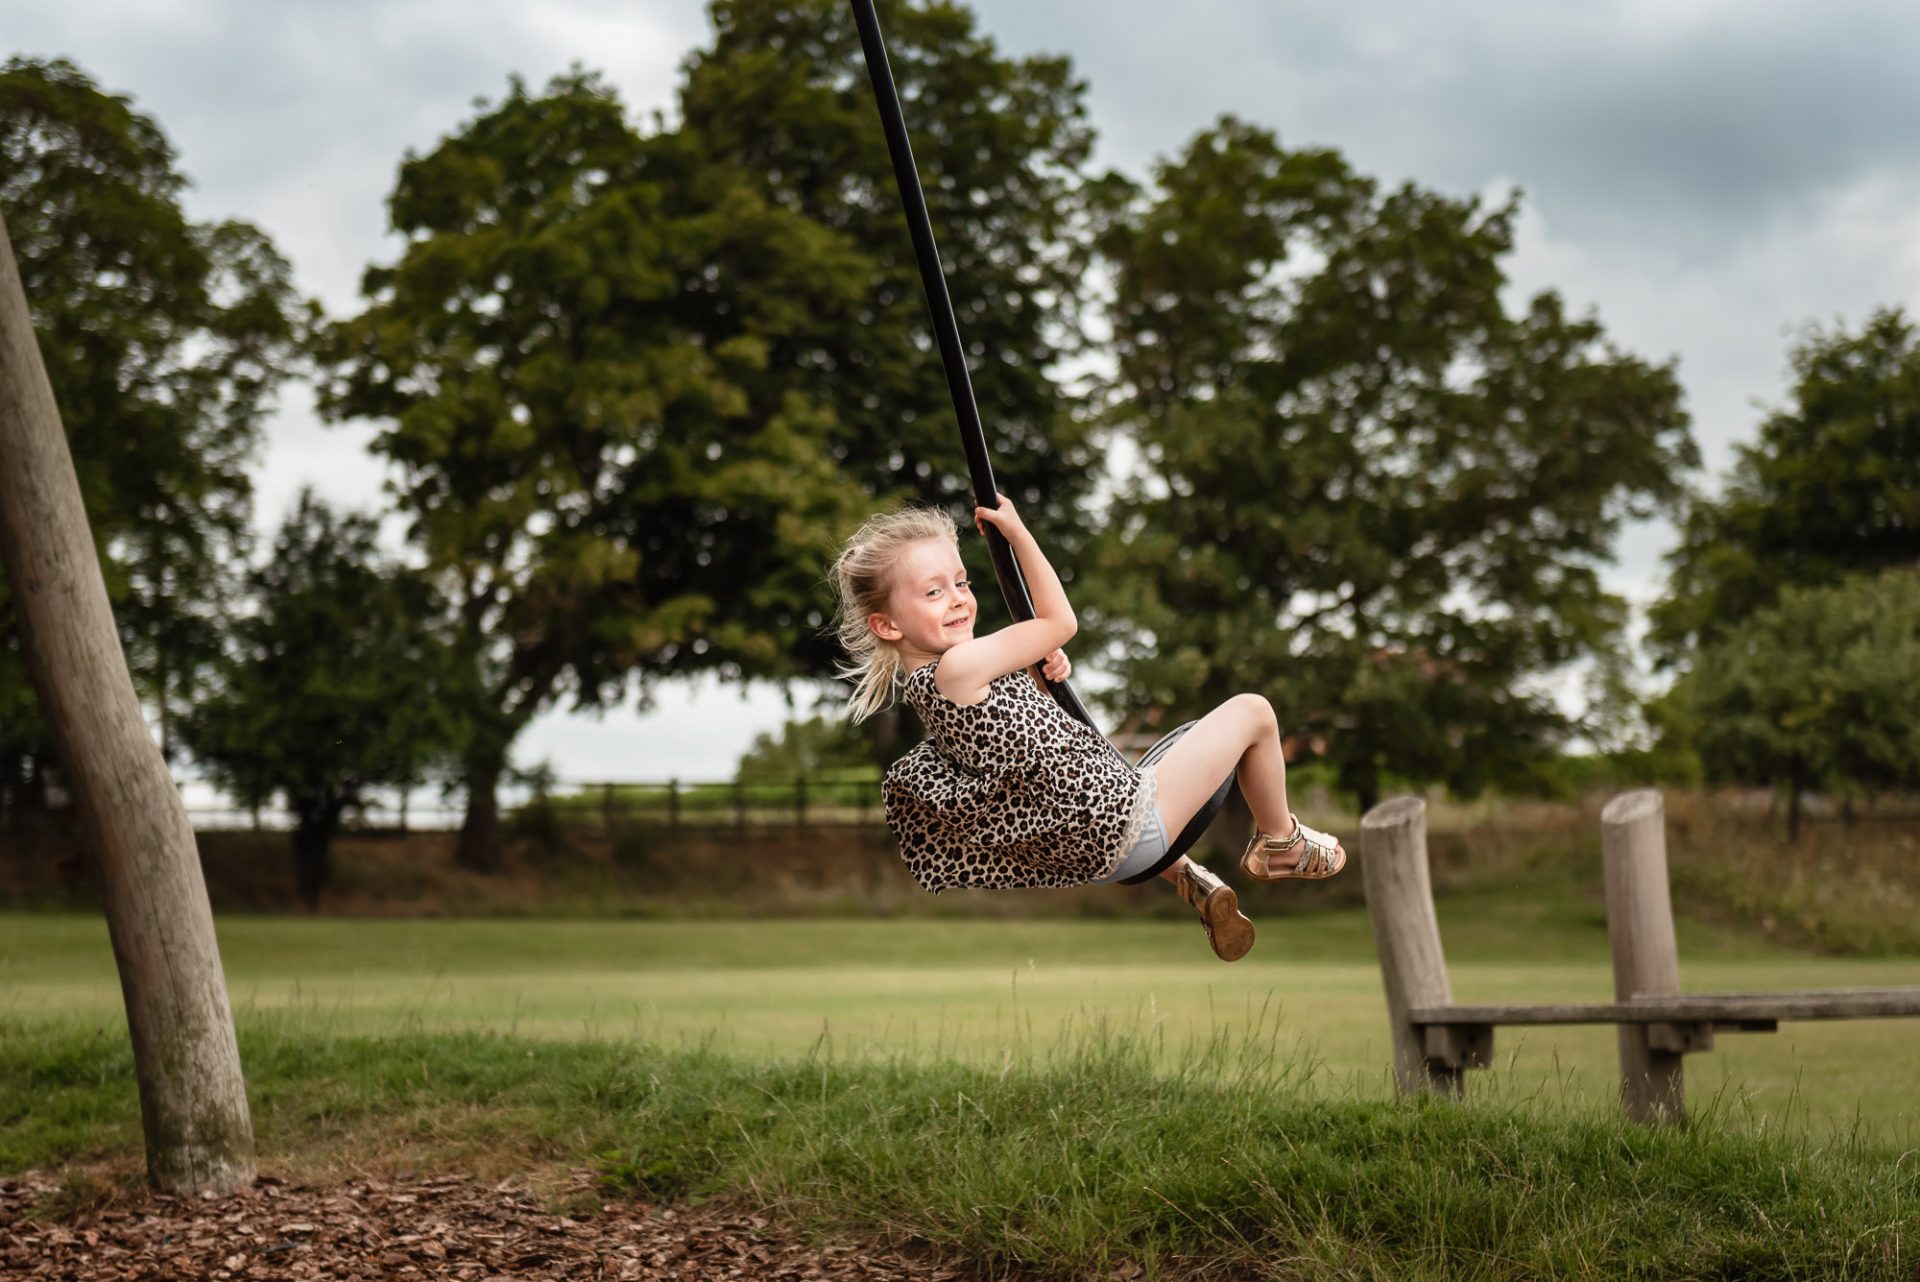
I’m the crazy lady at the park on the floor getting an action swing or zipline shot. Try it, you won’t regret it.
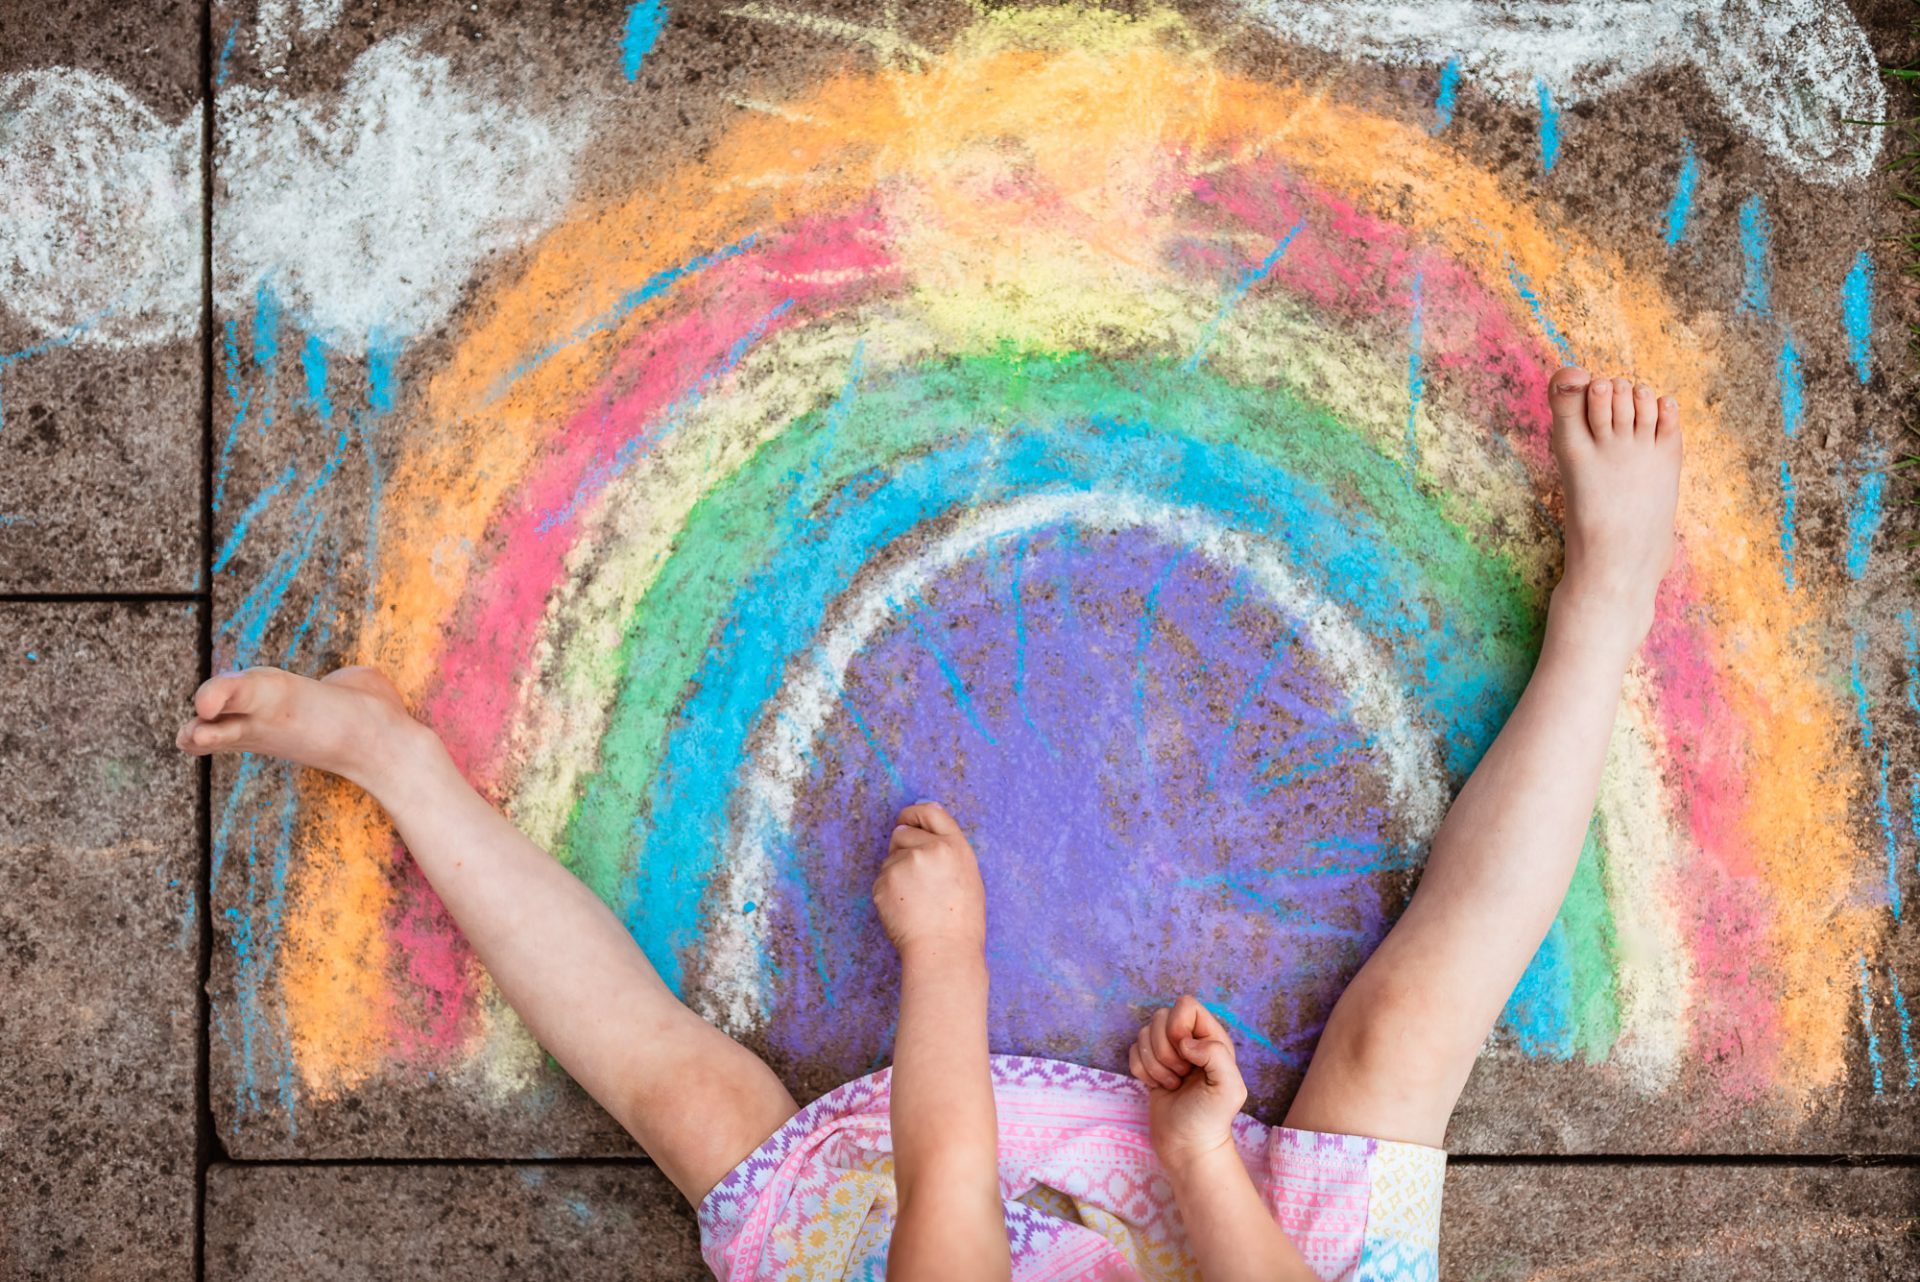
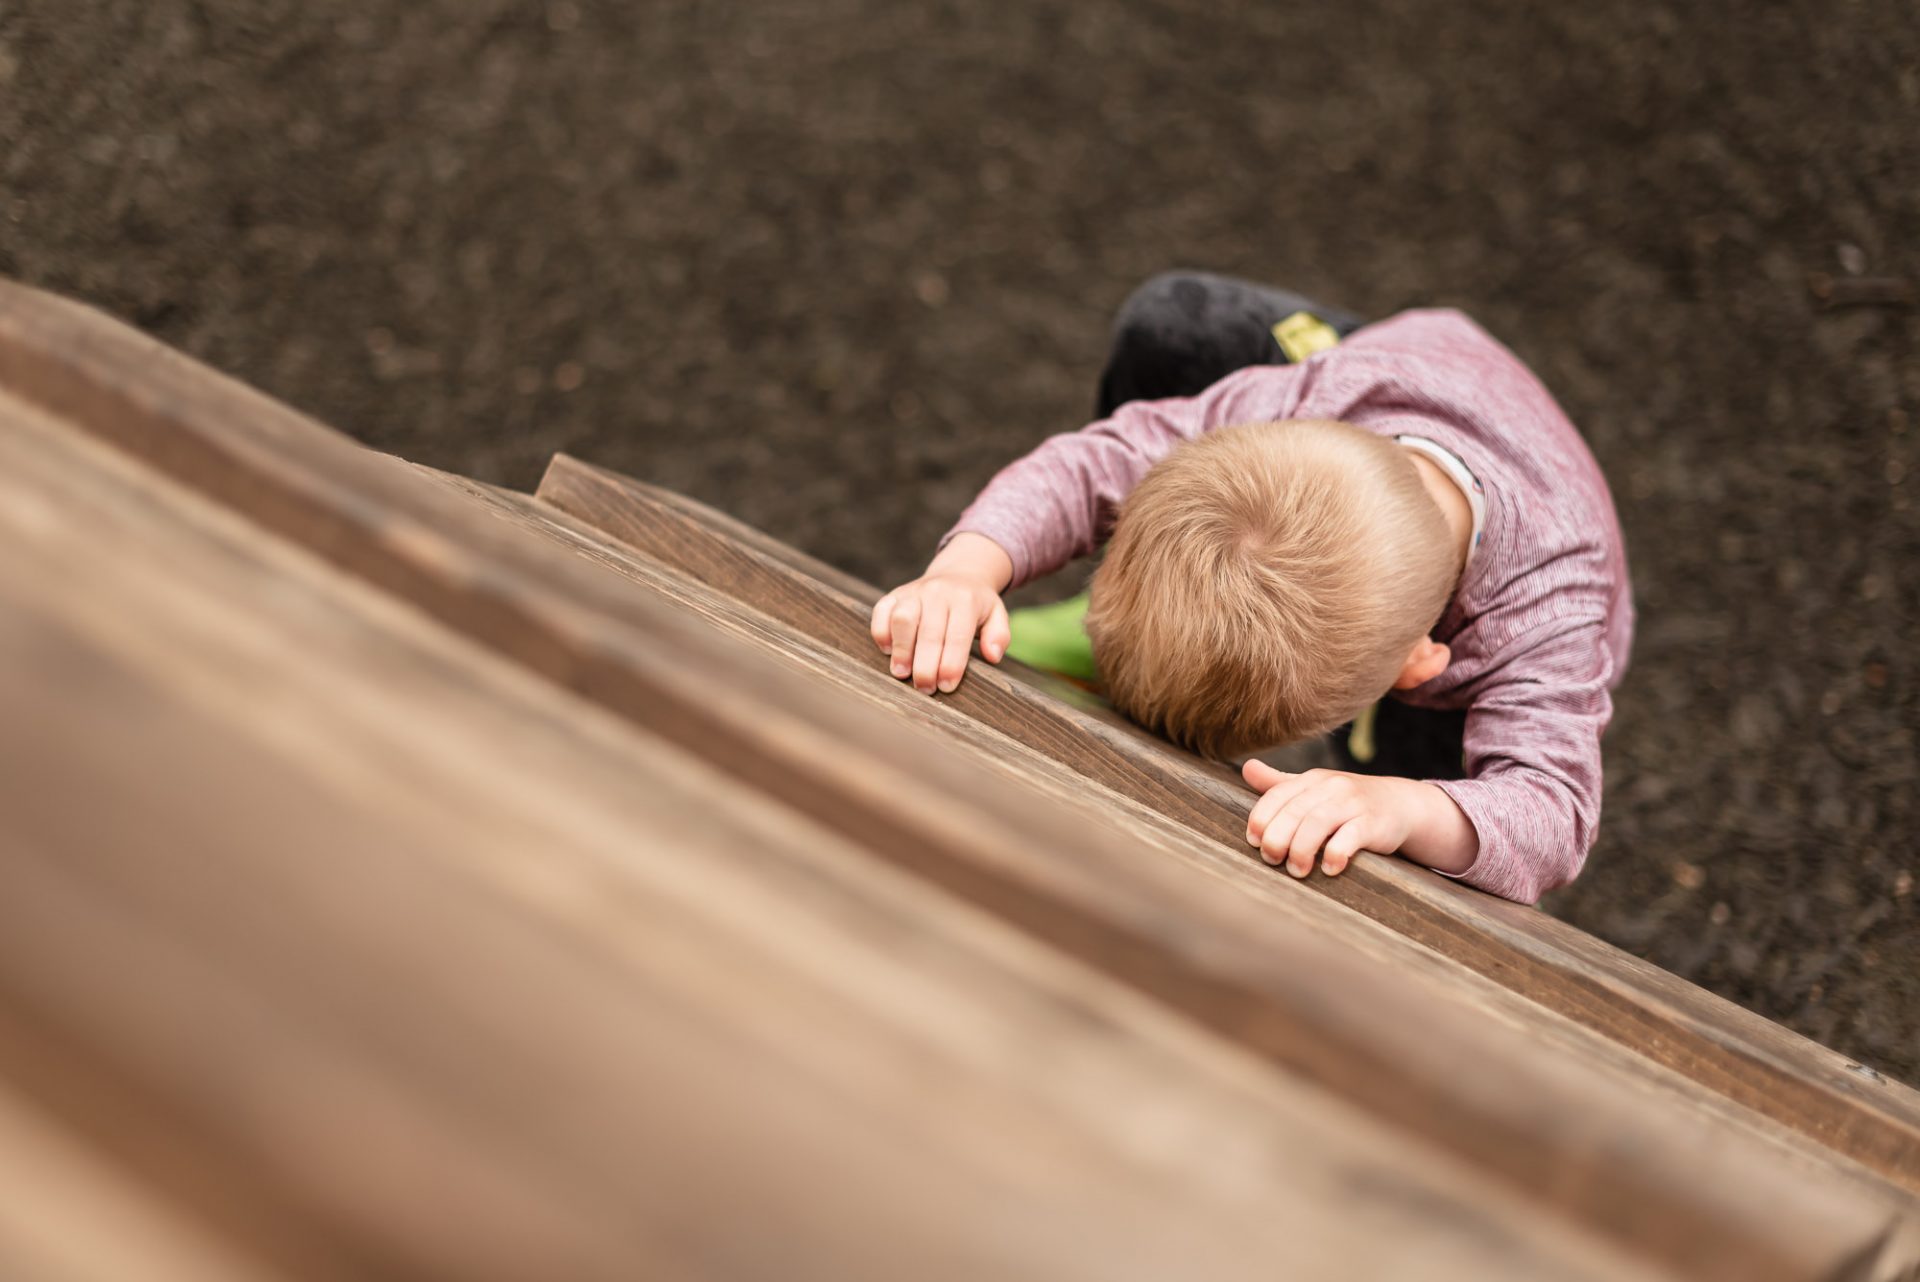
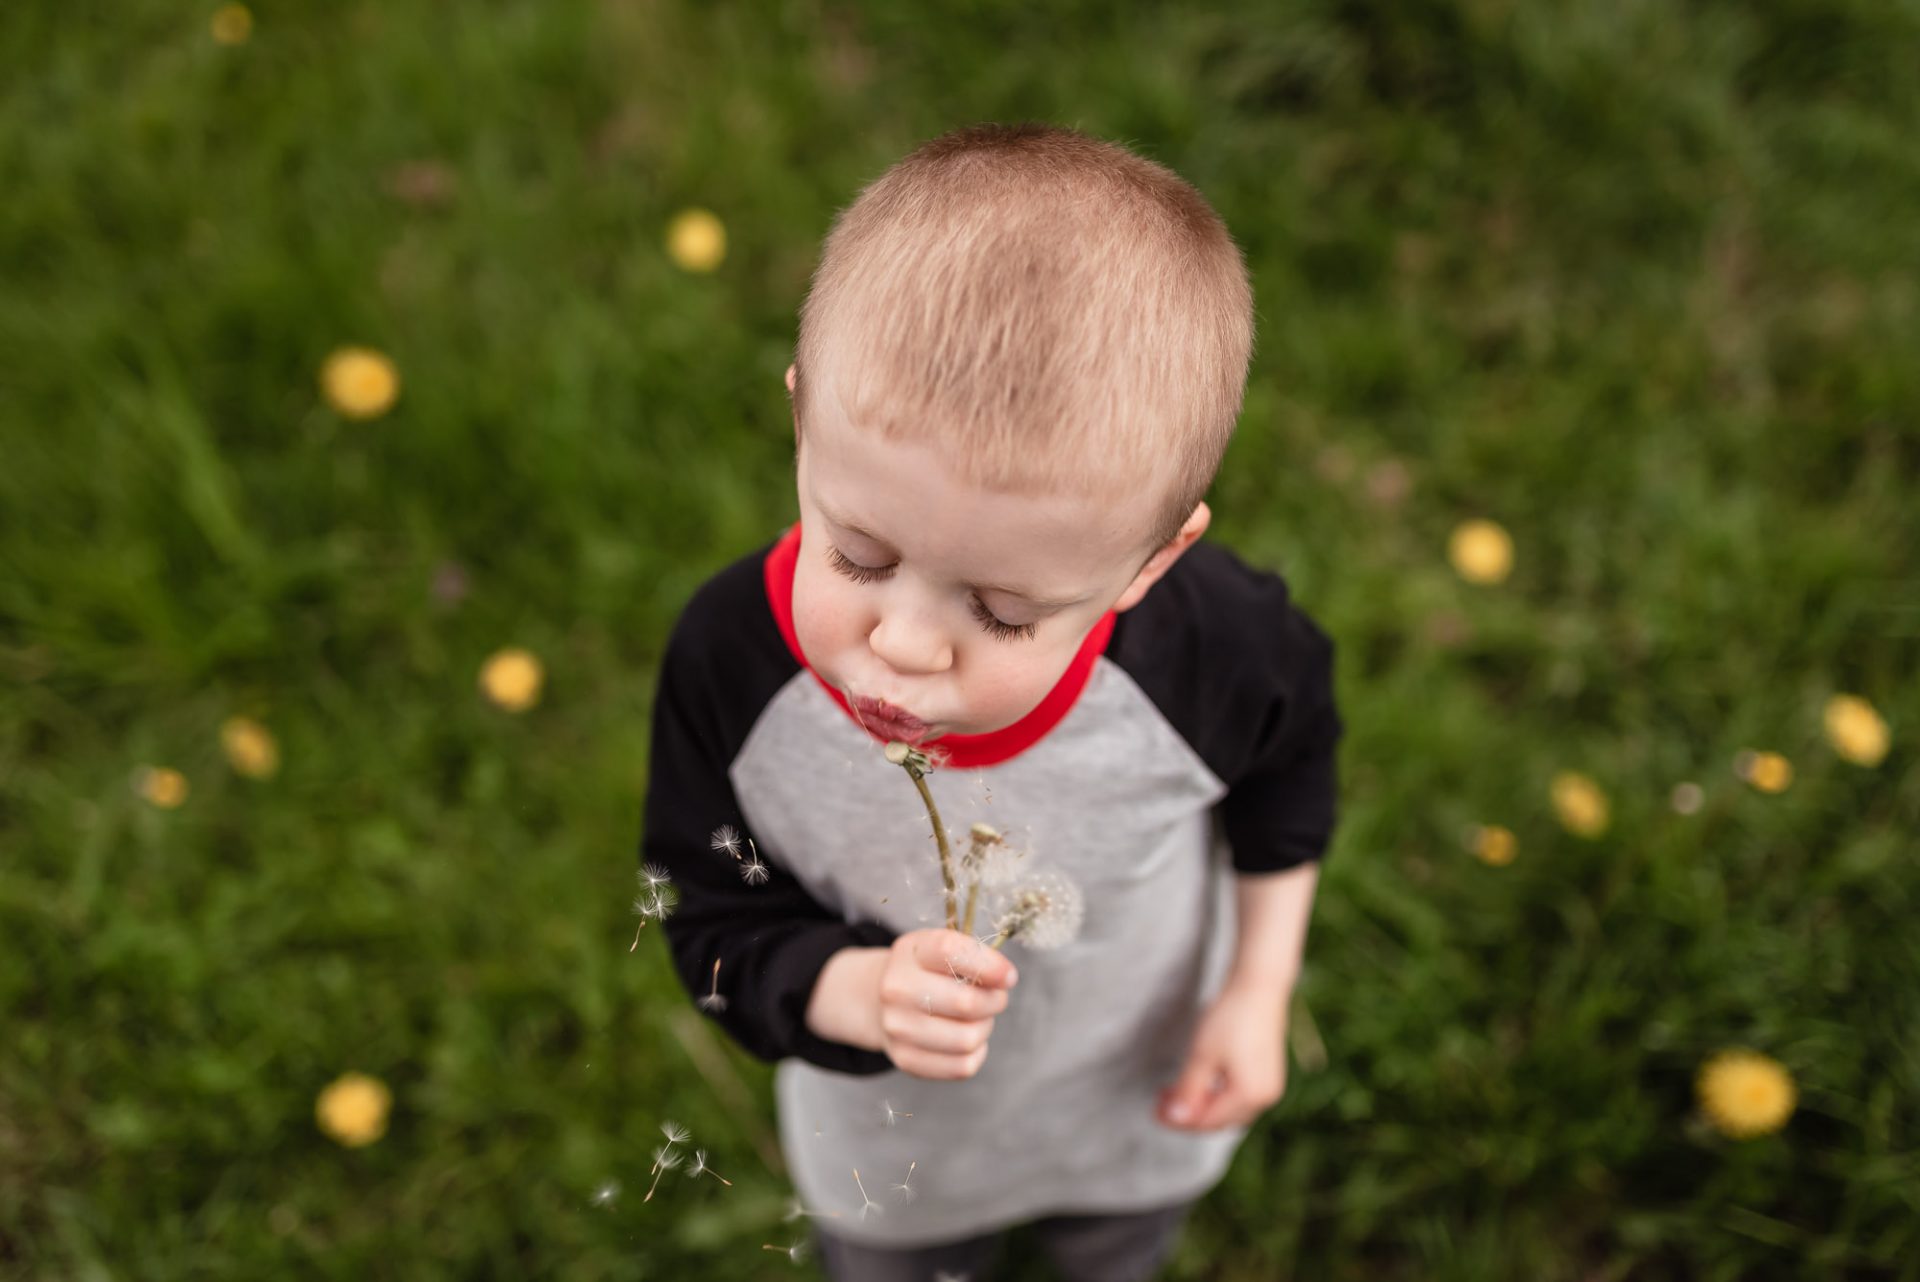
Try shooting from above to remove any distractions in the background. This is also helpful if you’re in a crowded park and want to avoid having another child in your photo.
I love faceless photos that focus on what my child is doing, and shooting from above it a great way to capture these details.
4. Capture their childhood
I’m all about true moments. I’d rather one silly photo of my children over a series of stiff formal portraits.
I have a few go-to activities that always work for getting the kids on board while you take some piccies.
Get them to run towards you on the count of 3, that 3 seconds is all you need to keep them still long enough to take a photo. Keep shooting as they run towards you for an action shot, you never know, one of them might be in focus.
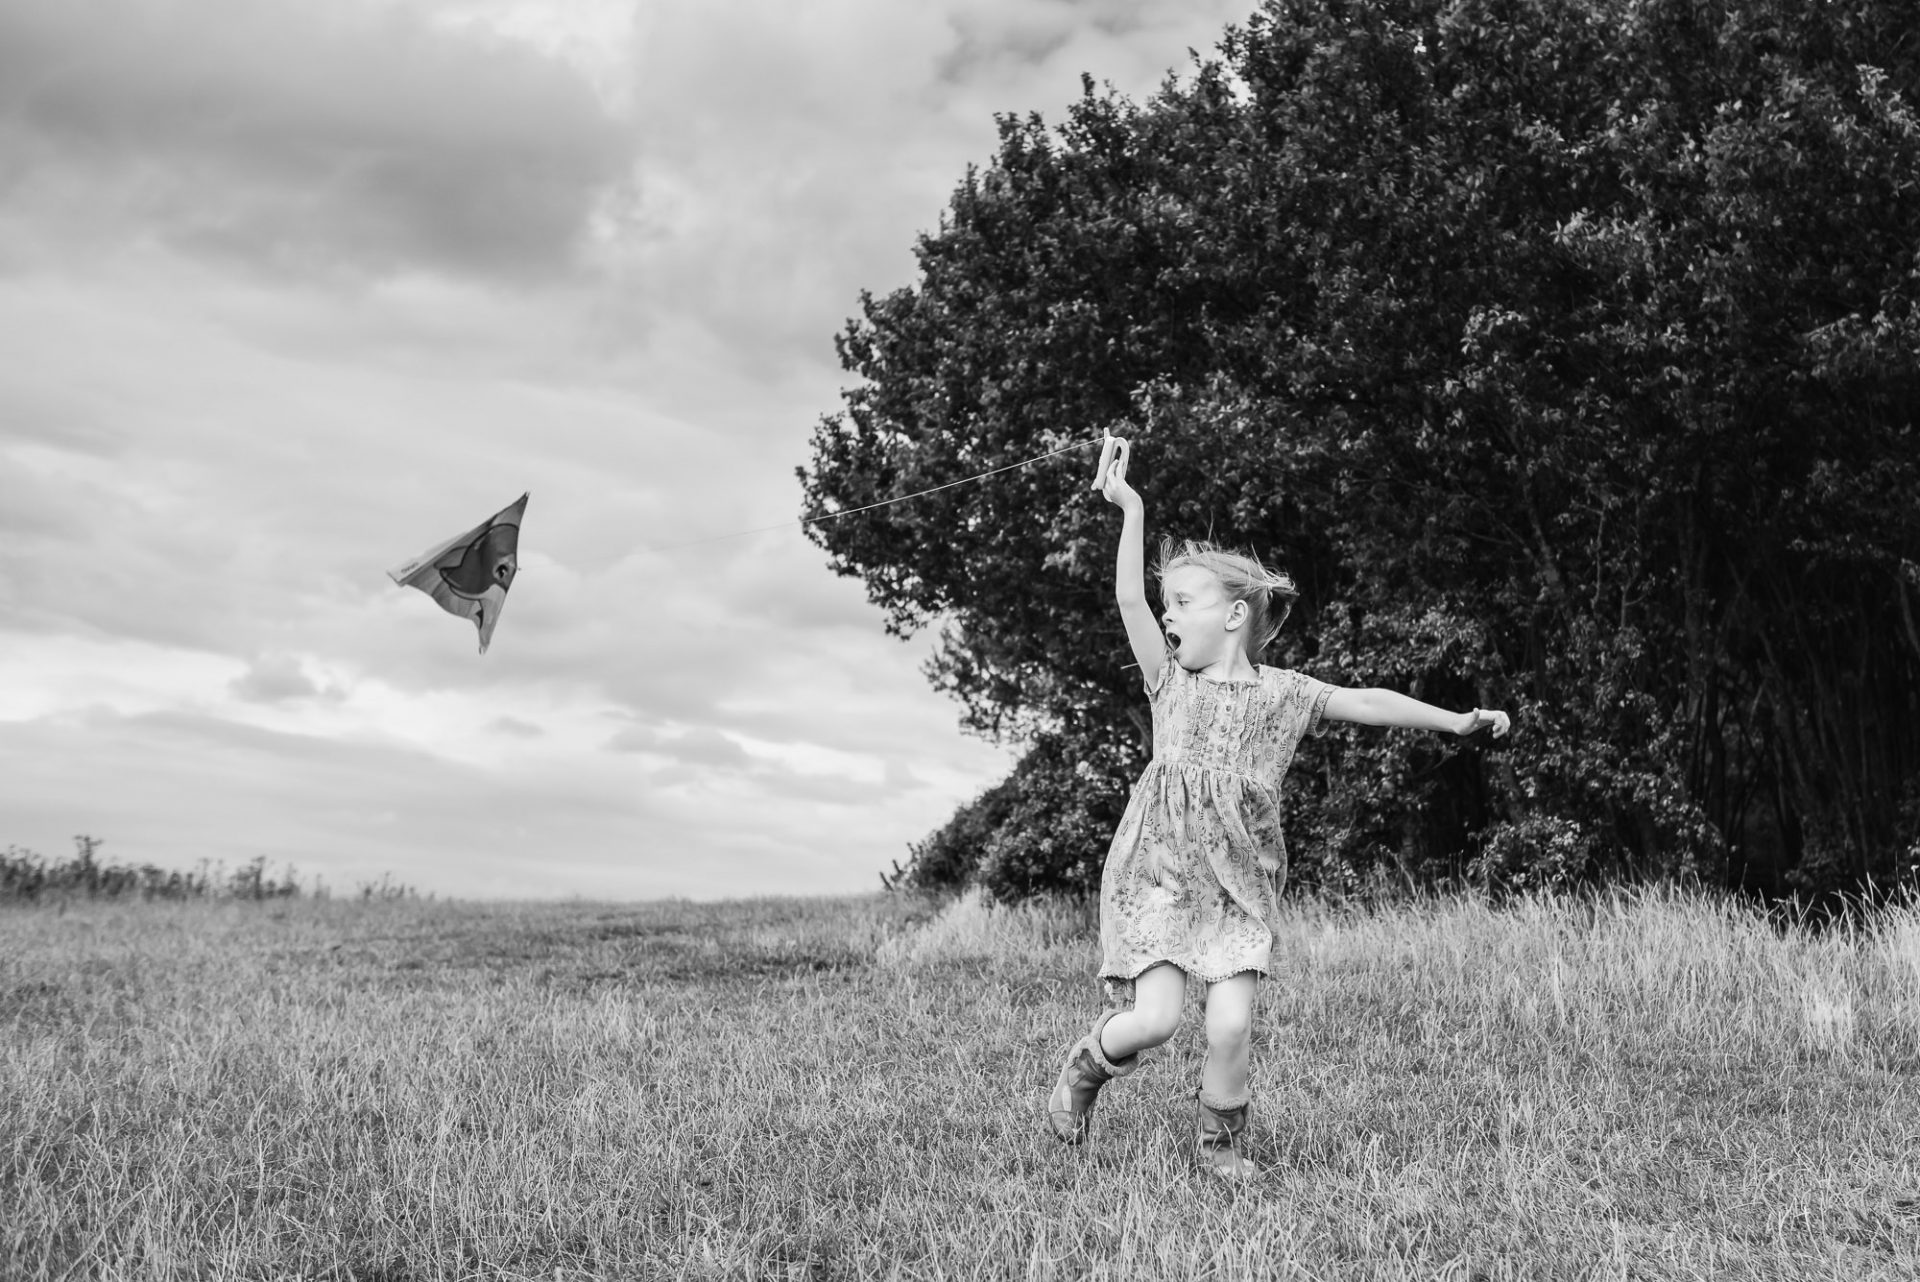
Give your child something to do – something that will pique their interest and allow you to capture them doing what they love.
We like looking for dandelions at the moment. I’ll ask my children to go and find some and bring them back to me so that I can see them make a wish. While they’re searching for the perfect dandelions I’ll look for the best light and sit and wait for them to return. If you aren’t sure where that is, just find that open shade.
That’s it
I could have written an entire post just on light (maybe one for the future), but to get started you just need to find the right kind of light and then get practising.
So get out there and get snapping!
Share your photos with me on Facebook, I’d love to know how you get on.


